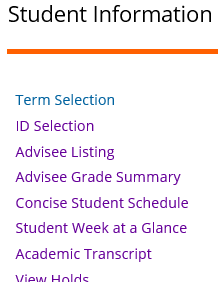
Student Profile (for Faculty)
The Advisor Student Profile provides advisors with a new advisee listing, and consolidates many details about a student in a single page, called the Student Profile. Click an item below to learn more:
- Advisee Search
- My Advisee Listing
- Student Profile
- Release Advisor Holds
- Navigate from Banner 9/XE to Banner 8 Self-Service
Use the Advisee Search page to select or change the term, search for a specific student or view your advisee listing.
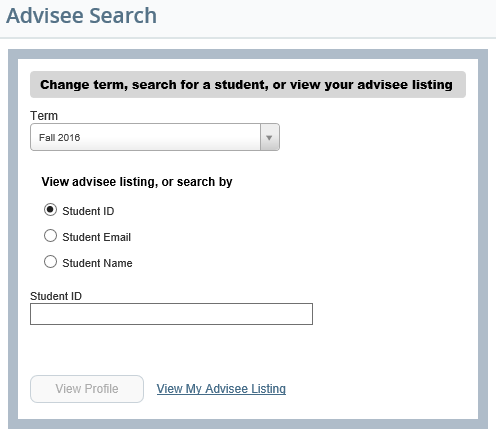
To search for a specific student, select the radio button that indicates the search criteria you wish to use (Student ID, Student Email, or Student Name). Then enter your search criteria in the box provided and press Enter. If multiple students match your criteria, select your student from the list. Click the View Profile button to access the student's profile. To view your advisee listing, click the View My Advisee Listing link.
Here are some tips about the Advisee Search:
- After entering the search criteria, hit either the Enter or Tab key on your keyboard to initiate the search. When the student’s name appears, click the View Profile button.
- Searches are not case-sensitive.
- When searching by email, any active email address on record for the student (according to SPAIDEN) can be used. The complete email address must be entered.
- When searching by name, enter the name in last, first, middle format. You can enter partial names if needed (ex: just the last name), and can use the % character as a wildcard.
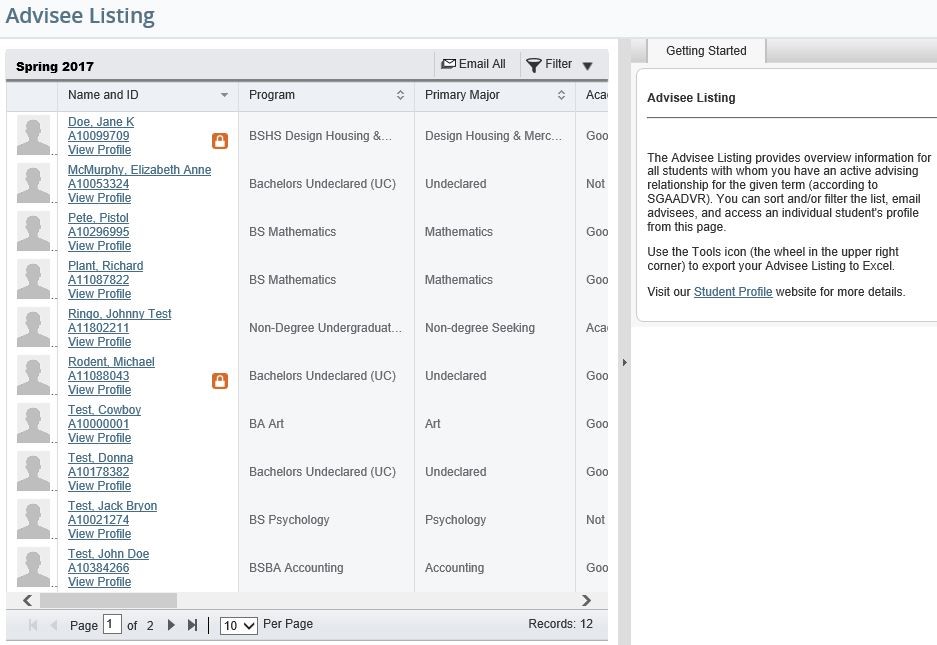
The Advisee Listing provides a list of all students with whom you have an active advising relationship for the given semester (according to SGAADVR). You can sort, filter, and/or download the list of advisees, email advisees, and you can access an individual student’s profile from this page:
Here are some tips about the Advisee Listing:
- Students with a Buckley Flag/directory hold are indicated with an orange lock icon by their name and ID (Jane Doe in the image above has a Buckley Flag). No information may be released to third parties about these students, including whether or not the person is a student at OSU. See the FERPA website for more details.
- You can close the Getting Started pane on the right side by clicking the small arrow in the gray space between panes.
- Advanced filtering options are available using the Filter tool in the upper right corner of the advisee list.
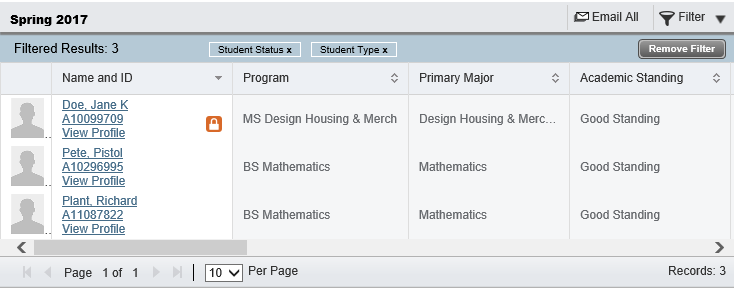
- Use the Go button to apply and view the results of a filter. When a filter is in use, it remains active when using the email and export tools. Buttons are displayed across the top for each field included in an active filter, and you can remove filters one column at a time by clicking these buttons. Use the Remove Filter button to view the original unfiltered results.
- Use the Tools icon (the wheel in the upper right corner of the page) to export your Advisee Listing to Excel.
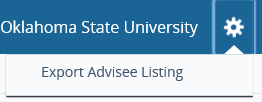
- Email all students in the list by clicking the Email All button in the upper right corner of the student list. You will be prompted to open your email software (ex: Outlook) and the email addresses will automatically be entered in the bcc field. If you have an active filter, only the filtered list of students will be included.
- Click on a column header to sort the list by that column.
- Use the vertical scroll bar at the bottom to scroll to the right and view more advisee details, and use the page navigation tools in the lower left corner to access more search results and/or adjust the number of students that display per page:
![]()
The Student Profile contains a wealth of information about a student on a single page, and will eventually replace some menu items from the current Student Information for Advisors section of Self-Service. Students will also have access to their own profile in Self-Service.

Information available from the Student Profile includes:
- Student name and ID
- Basic biographic and demographic information (email, phone, date of birth)
- General information about the student (level, classification, student status, residency)
- Graduation information, including degrees earned at OSU and links to active graduation applications
- Academic advisor details
- Curriculum details (primary and secondary programs)
- Class schedule (the Registered Courses list only includes active registrations, and does not include withdrawn or waitlisted classes)
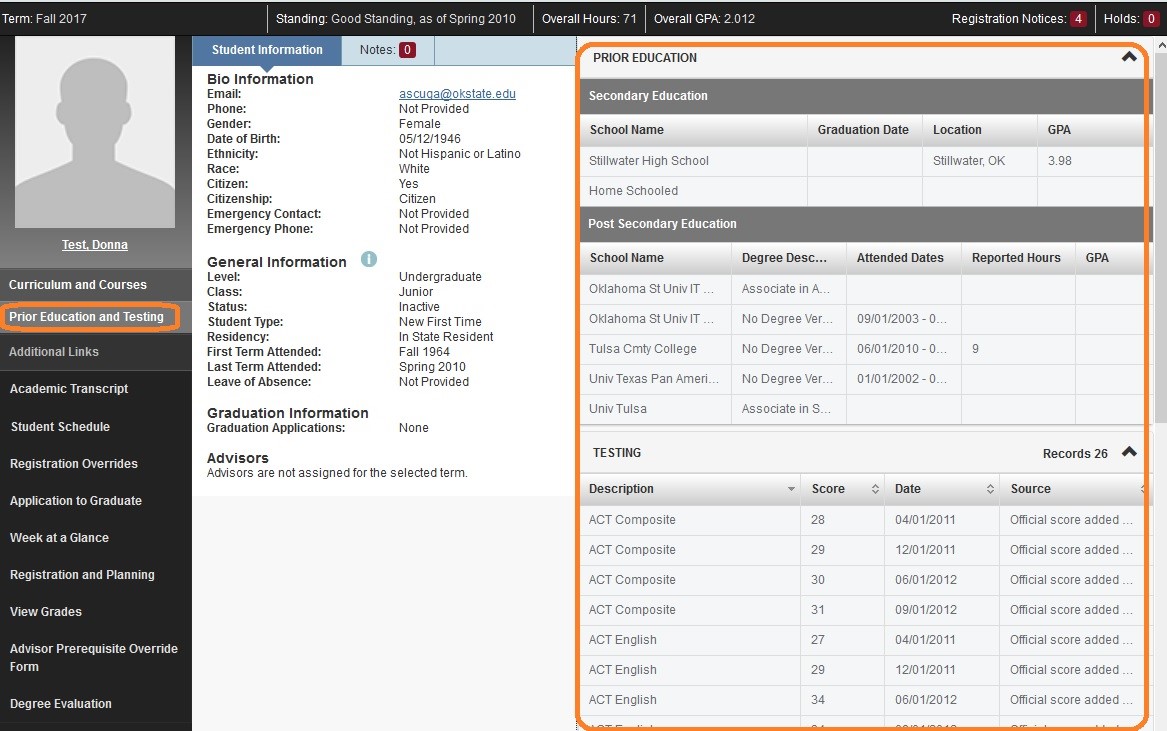
- Prior education details (including institutions attended and degrees earned) and Test Scores – click the Prior Education and Testing link on the left panel, and the details will display on the right side of the screen:
- Additional Links to other Self-Service pages, Degree Works, and the Advisor Prerequisite Override form
- Academic Standing
- Overall earned hours and GPA
- Notes
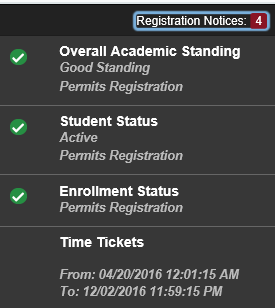
- A Registration Notices section, which displays information about items that could impact a student’s ability to register for the term, including registration time ticket details:
- A summary of active holds, with holds you can release categorized as Releasable Holds:
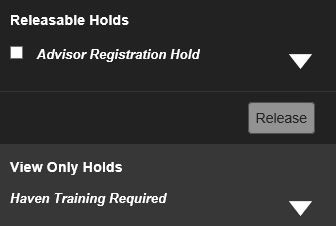
- Click the arrow to the right of each hold to view the hold details:
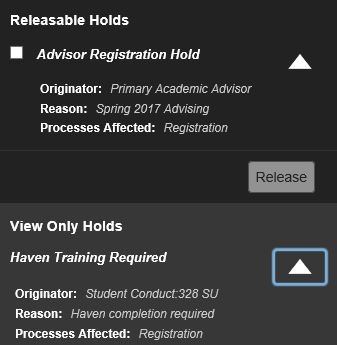
Advisor registration holds are shown to advisors as Releasable Holds and can be released from the Student Profile as follows:
- Click the white box to the left of the Advisor Registration Hold, then click the Release button.
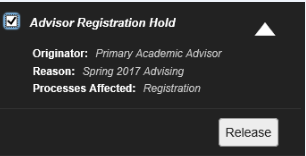
- Optionally, enter a comment in the box provided, then click OK. Note that comments entered here are stored in Banner as a Note that will only be viewable to the author, and not viewable to students or other advisors.
- You will see a green confirmation message in the upper right corner if the hold was successfully released.

Navigating from Banner 9/XE to Banner 8 Self-Service
As new Banner 9/XE Self-Service features are released, they are recognizable with a blue theme and updated look/feel. The best way to navigate to other student Self-Service pages from the Student Profile is to use the Additional Links on the left pane, as these links will retain the student ID as you go to other Self-Service pages. Note that the first additional link you select will open in a new browser window. Links to Banner 8 pages typically open in a common browser window, and links to Banner 9/XE pages typically open in a different browser window (separate from the Banner 8 window). Use the tabs along the top of your web browser to facilitate navigation:

You can navigate to other areas of Self-Service from the XE advisor Student Profile using the four square navigation icon in the upper left corner of the page
After clicking on the navigation icon, you will see breadcrumbs appear which match menu items you can access from Banner 8 Self-Service. Note that a student ID may not be retained when navigating between XE and Banner 8 using the breadcrumbs.
Example:
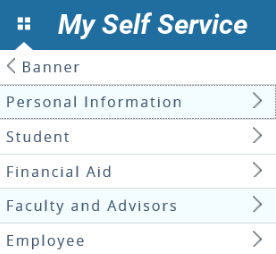
- Click the navigation icon, then click on Banner:

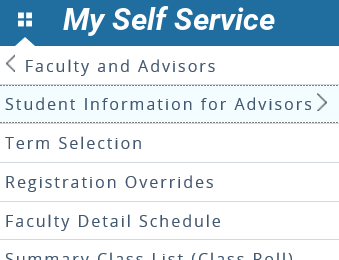
- Then click on Faculty and Advisors:
- Then click on Student Information for Advisors:
- Click on ID Selection:
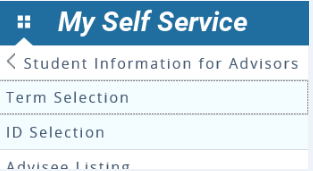
- Then use the Banner 8 ID search tools to find a student, then select the desired item from the Student Information for Advisors list:
